

I used a 4.25mm hook
Head
& Body
Start with brown
yarn
Round 1- Magic ring (6 st)
Round 2- 2 Single crochet in
each st(12st)
Round 3- 2 Single crochet in
each st(12st)

Round 4- Single crochet in
the next 3 stitches, 2 single crochet in the next(increase), single
crochet in the next 3 stitches, increase, continue like this for the
row
Round 5- Single crochet in
the next 4 stitches, increase, single crochet in the next 4 stitches,
increase, continue like this for the row
Round 6- Single crochet in
the next 5 stitches, increase, single crochet in the next 5 stitches,
increase, continue like this for the row
Round 7- Single
crochet in back loops for 2
rows, change color for skin

Round 8-15- Single crochet for 8
rows

Round 16- Single crochet in
the next 2 stitches, single crochet 2 together(decrease), single
crochet in the next 2 stitches, decrease, continue like this for the
row
Secure in eyes(12mm black safety eyes)

Round 17- Single crochet in
the next stitch, decrease, single crochet in the next stitch,
decrease, continue like this for the row
Round 18- Row of decreases,
start stuffing
Round 19- Single crochet row

Leave for now
Nose
Round 1- Magic ring(6st)
Round 2- 2 single crochet in
each st(12st)

Round 3- Single crochet row
Round 4- Single crochet in
the next stitch, decrease, single crochet in the next st, decrease,
continue like this for the row
Cut off yarn, Stuff
lightly, sew onto face


Ears
Magic ring(6st)
Ch 1, turn, single
crochet in the same stitch, 2 single crochet in each st for the row

Make 2, sew onto
head

Side
burns
Ch 6
Single crochet in
the second chain from the hook and in the next 4
make 2, sew onto
head

Hair
at the back of the head
Ch 20(this really depends on where you put the ears, you may have a larger or smaller chain)
Single crochet in
the second chain from the hook and in each chain for the row(19st)
Ch 1, turn, single
crochet in each st(19st)
repeat for 6 more
rows
sew onto head

Mustache
Ch 12
Single crochet in
the second chain from the hook and in the next 10 stitches
Sew onto face

Continuing from the head/start of
body
Green yarn or red(depending on if you're making Mario
or Luigi)
Round 20- Single crochet in
the next stitch, increase in the next, single crochet in the next
stitch, increase in the next, continue like this for the row
Round 21-22- Single crochet for 2
rows

switch to blue yarn(for suspenders)
Round 23- Single crochet in
the next 2 stitches, increase in the next, single crochet in the next
2 stitches, increase in the next, continue like this for the row
Round 24-28- Single
crochet in the next 5 rows
Round 29- Single crochet in
the next 3 stitches, single crochet 2 together(decrease), single
crochet in the next 3 stitches, decrease, continue like this for the
row
Use a different
color piece of yarn to mark the middle of the body(through the front
and back)
Round 30- Single
crochet to the middle(if needed) then single crochet the front and
back of the body together, this will be the beginning of the first
leg
Note:
The most important part to remember when making the legs is to start
both legs with the same amount of stitches(mine were 8 st each)
Round 31-33- Single
crochet for 3 rows(use a stitch marker if needed)
Round 34- Single
crochet in the next 2 stitches, increase, single crochet in the next
2 stitches, increase, continue like this for the row
switch to brown
for shoes
Round 35- Single
crochet row
Round 36- Decrease
row
Slip
stitch into the next stitch, sew closed. Do same for second leg. If
there is a space between both legs, sew closed.

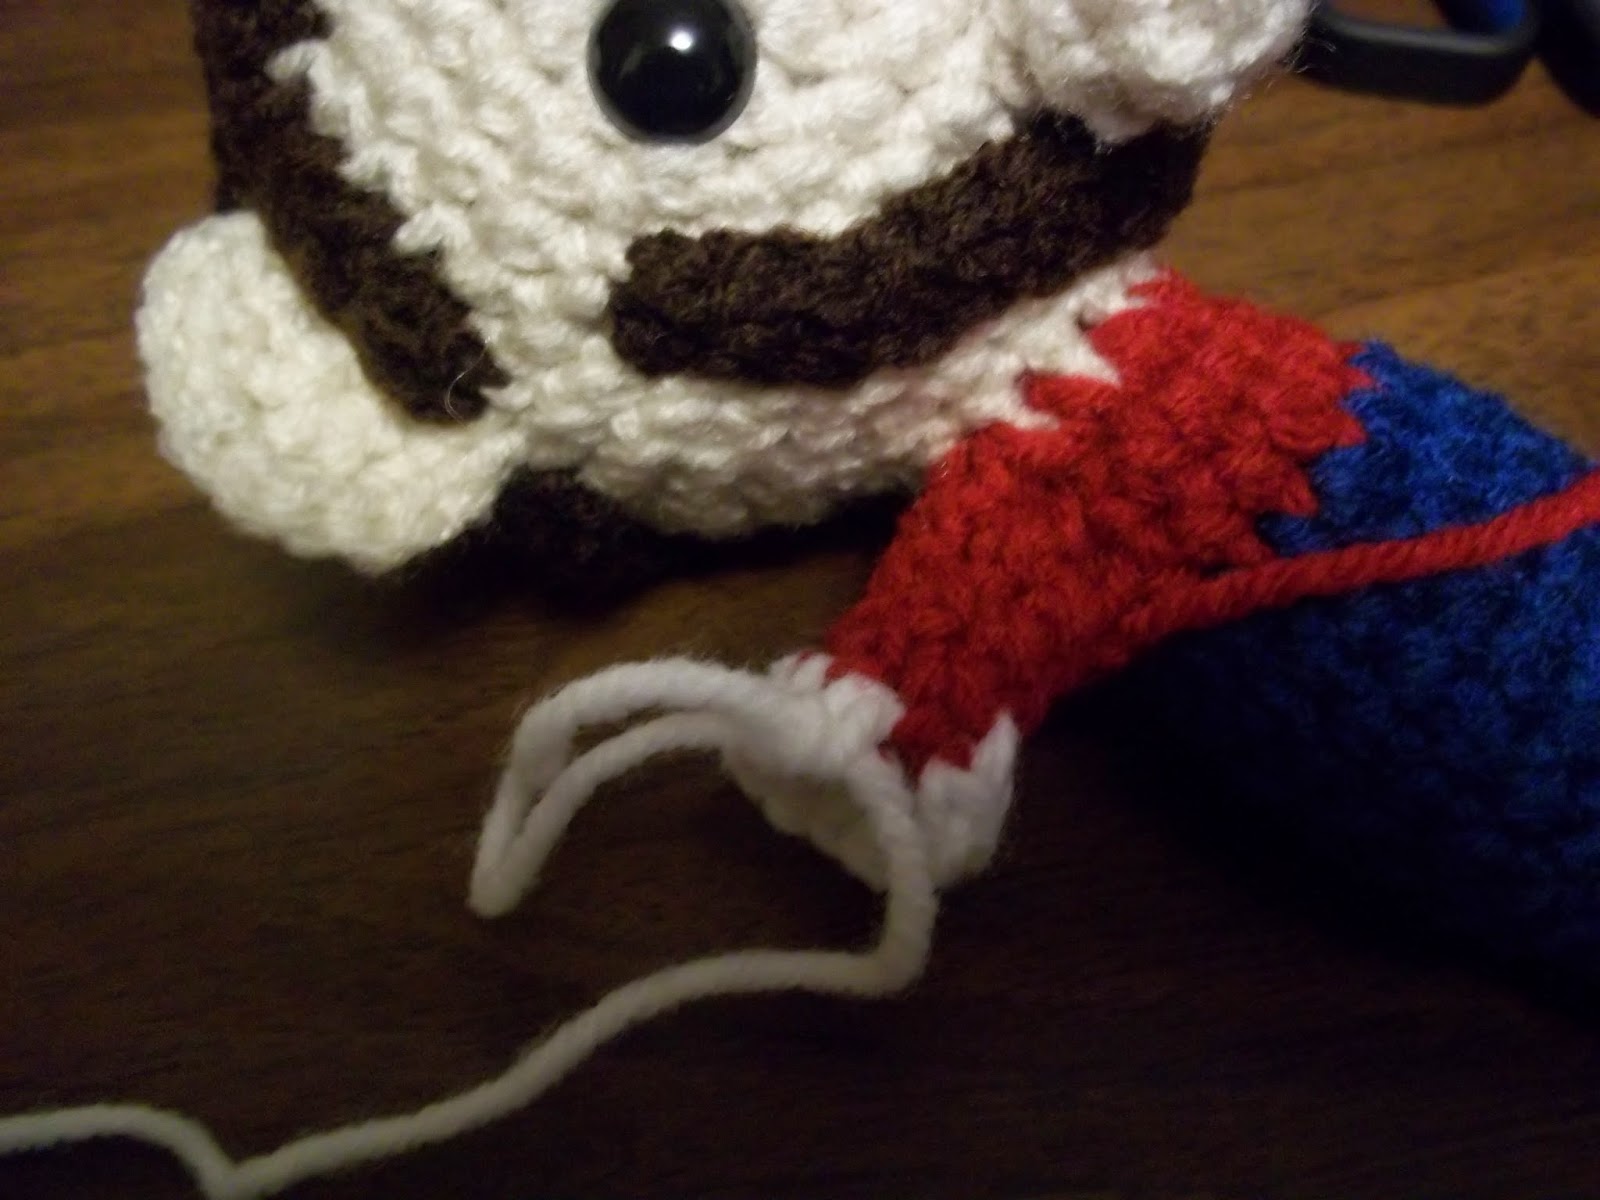
Slip stitch onto body where you want the first arm, single crochet in a circle, 8 stitches for both arms, start with red yarn

Single
crochet around for 3 rows
Switch to white yarn
Single crochet for 2 more rows, whip stitch in the front post of each stitch and pull to close, sew in ends

Do the same for the
other arm
Extras
Ch 10, single crochet in the second chain from the hook
and in the next 8 stitches
Make 2 white for the gloves(sew onto edge of white)


and
2 blue for the suspender straps
Button for
suspenders
Using a 3.75mm hook, make a magic ring(6st), slip stitch
into the next stitchMake 2, sew onto front of suspenders


Hat
Round 1- Magic ring(6st)
Round 2- 2 single crochet in each st(12st)
Round 3- 2 single crochet in each st(24st)


Round 6- Single crochet in the next 5 stitches, increase, single
crochet in the next 5 stitches, increase, continue like this for the
row
Round 7- Single crochet in the next 6 stitches, increase, single
crochet in the next 6 stitches, increase, continue like this for the
row
Round 8-13- Single crochet for 6 rows

Round 14- Single crochet in the next 2 stitches, decrease, single
crochet in the next 2 stitches, decrease, continue like this for the
row
Round 15- Single crochet row
Round 16- 2 single crochet in each of the next 10 stitches, slip
stitch in the next stitch
Round 17- Ch 1, skip 1 stitch, single crochet in the next 18 stitches, skip
the next stitch, slip stitch into the next, cut off yarn, weave in
ends
Circle with
name initial
Magic ring(6st)
2 single crochet in each st(12st)
2 Single crochet in each st(24st)
Slip stitch embroider on either an M or L, depending on which
character you're making, sew onto hat.


No comments:
Post a Comment