
Ch 9(I used 4 ply yarn and a 4.25 mm hook)
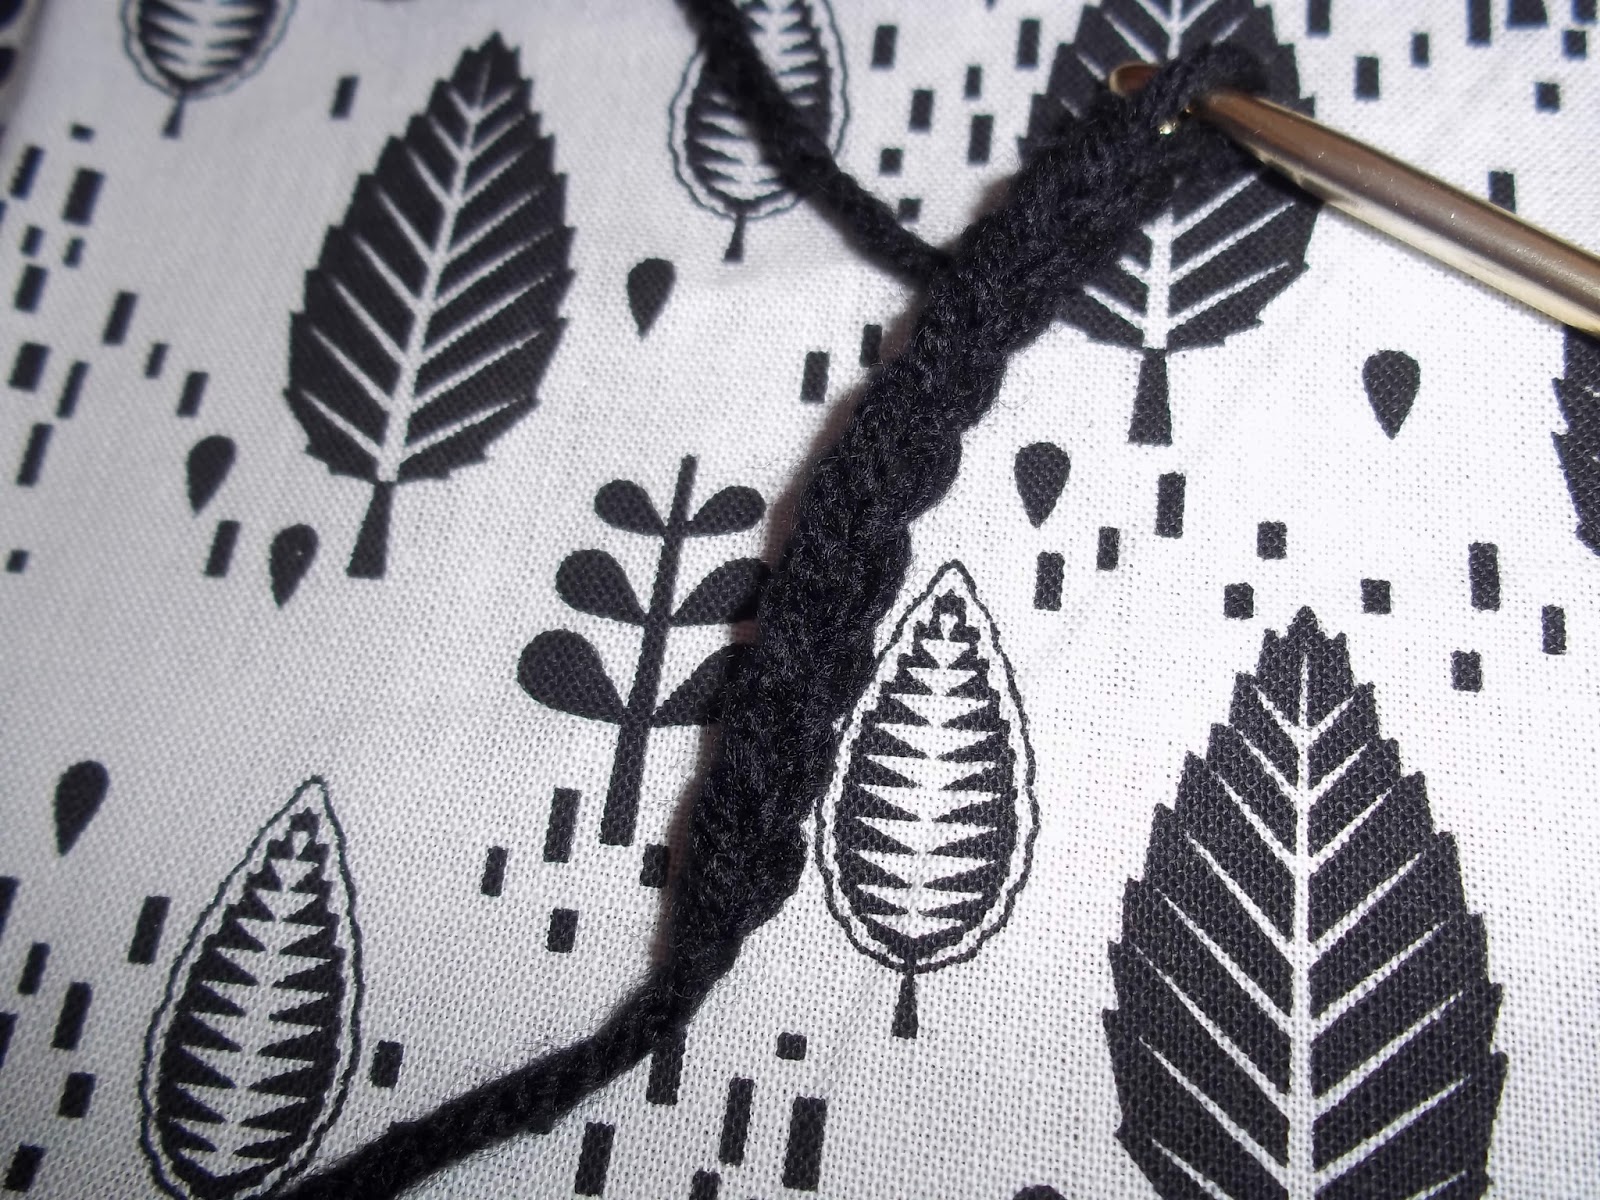
Ch 1, Single crochet in each stitch (8st, the ch 1 does not count as a single crochet)

 |
| Crocheting in the back loops creates a ribbed effect |

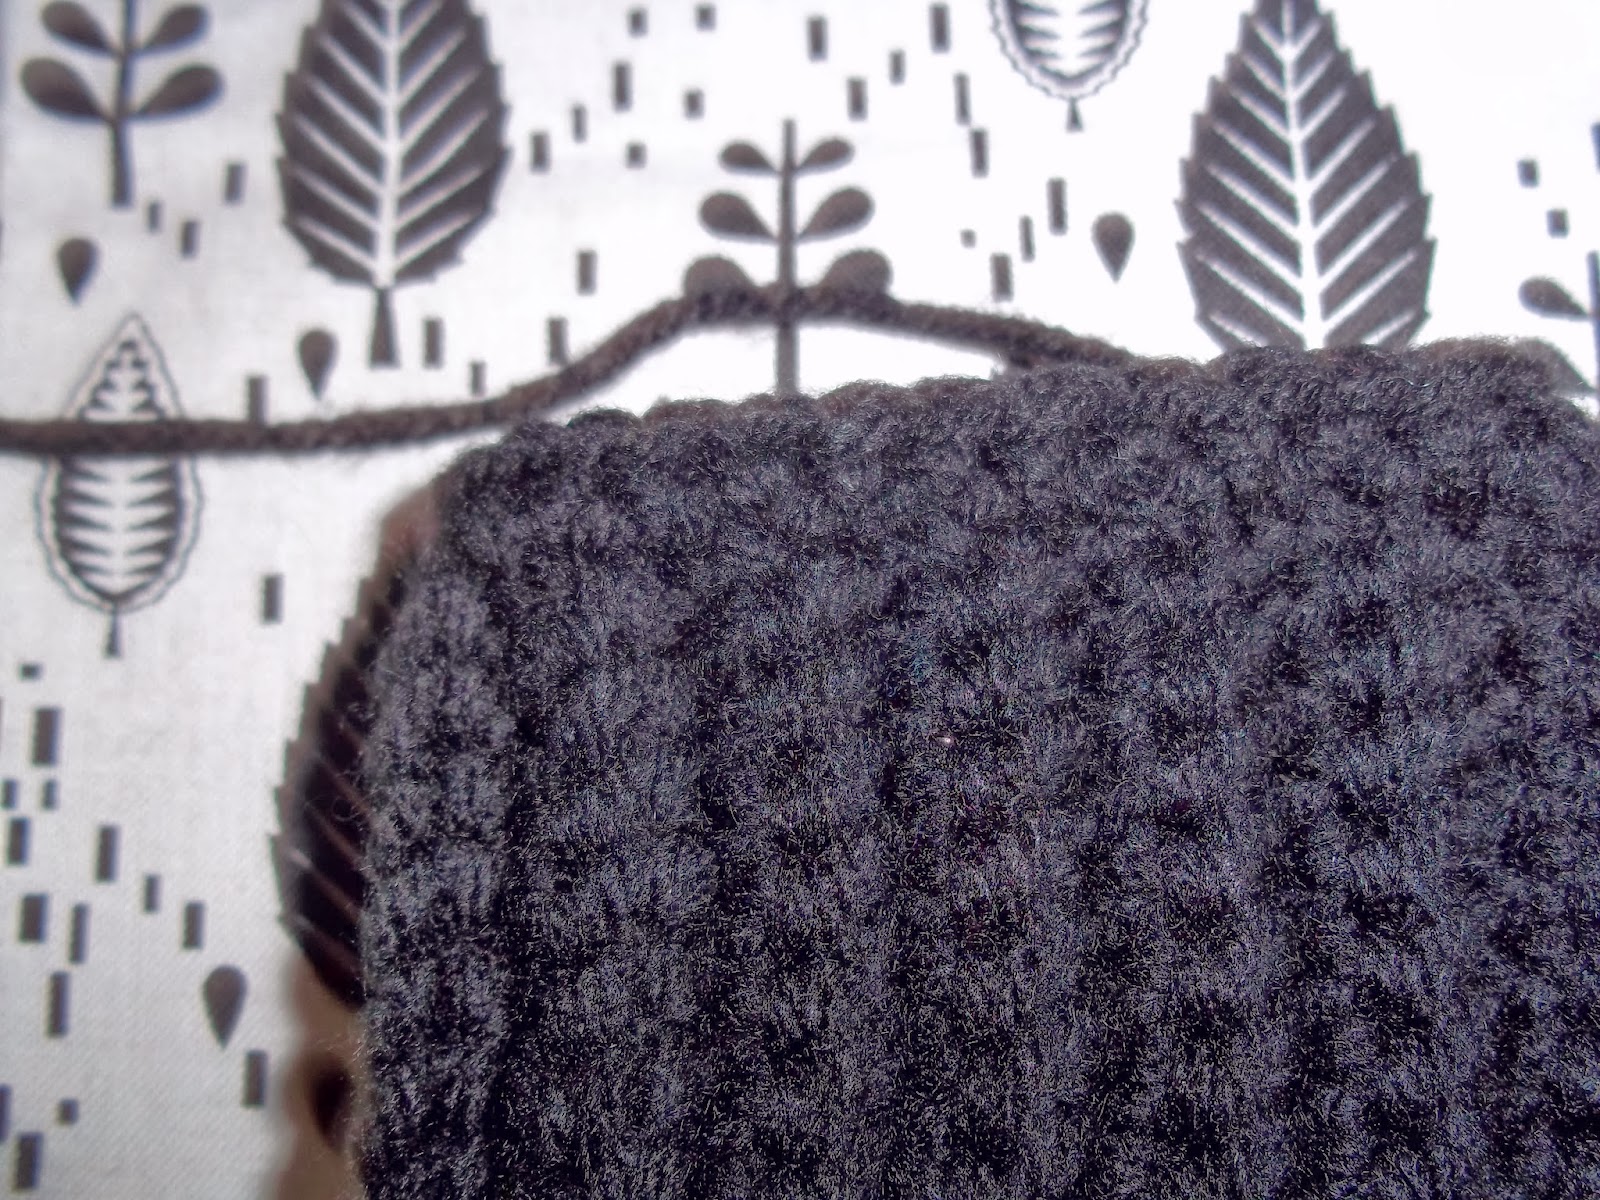
Ch 1, single crochet in same st as ch 1 and in each stitch around the wrist band(26 stitches, if you look at the band closely there will be spaces at the end of each single crochet row where you can put each single crochet of this row). Slip stitch in first single crochet to end this round, ch 1ch 1 as (This is how we will end each round from now on, unless said otherwise)

Single crochet for the next 2 rows
Single crochet the next row until the last 3 stitches of the row, 2 single crochet in each of the last 3 stitches(Increase for thumb). Slip stitch to join. Ch 1


Single crochet row, slip stitch to join, ch 1
Single crochet until there are 10 stitches remaining in this row, single crochet into the first single crochet of the last row(this creates the thumb hole)

From this point continue single crocheting for 5 rows. This is the point where I stop slip stitching and chaining 1 at the end of each row, I just crochet in the round. A stitch marker or piece of a different color yarn could be helpful to keep track of where the rows start/end.
Once the 5 rows of single crochet are done, slip stitch and cut off yarn(leave the tail long enough to sew in/secure)
Sew in any extra ends.


No comments:
Post a Comment